John and I have had an easy [but busy at the same time] summer. We have been working on the new house... Putting our mark on it, making it ours. We aren't by all means, done yet but we are definitely getting there.
Slowly but surely.
This summer, we put together my craft room and his music room/office. :) His music room was pretty much all me except anything heavy that needed to be picked up and hung or anything that required to be cut by a saw.
Okay so here are photos.
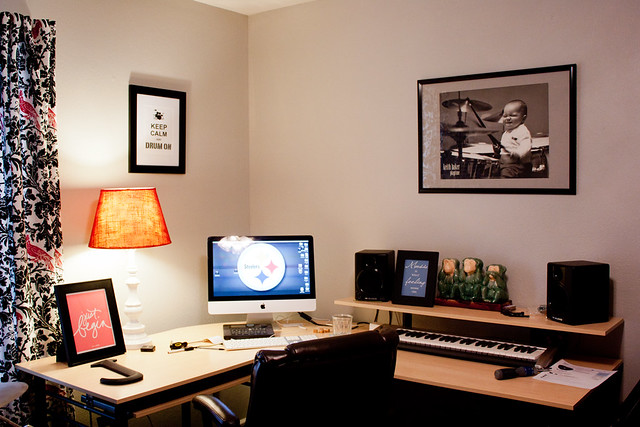
The desk [photo above] used to be in my old craft room. He has been obssessed with it since I took it home from Staples. So since he totally pulled the best husband ever thing and built me that really awesome desk here and here, I gave my desk to him, painted his walls, sewed curtains and let him pick out the fabric and totally prettied up his music room... because awesome husbands deserve their own awesome, cozy space! I don't know about you other women out there but I am married to the best enabler in all of the land so when he wants something like a cool room, I give it to him.
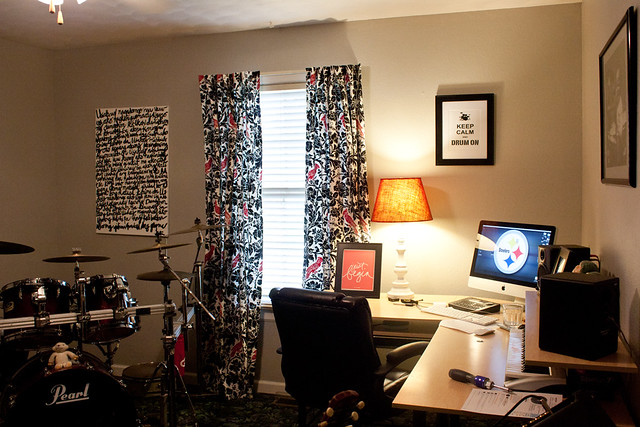
We have had a lot of stuff going on this weekend home decorating so excuse the screw drivers and markers laying around. I did sew those curtains. They are just simple back tab panels. The fabric is Premier Prints Barber in black and lipstick and I got here. The lamp I got for a buck at the thrift store. Spruced it up with spray paint is all I did to it.
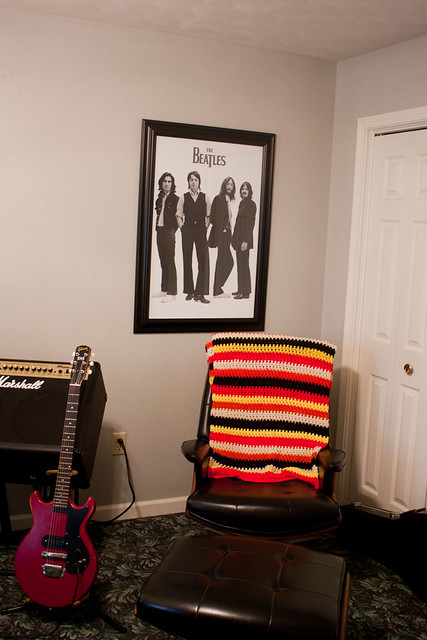
This corner, I am still trying to figure out why he is stuffing everything here from his guitars, to the guitar cases, his amp and pedals. The pedals kind of moved under the desk this weekend because he's been rocking in here. The chair is a gift from Betty and the Beatles poster, a nifty find by yours truly.
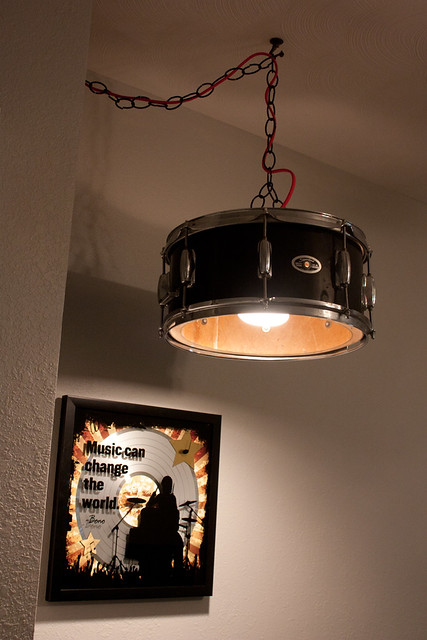
And this, this is what brings the cool factor in this room. This is a Slingerland snare drum that's been sitting in our garage for a long long time. I found it sitting in its lonesome as we were moving John's tools out to the new garage. And told John to make it into a lamp! A week of searching for a lamp kit that suited him, VOILA!!! A snare drum light. I have left it all untouched for a while because I wasn't sure if it was gonna stay hanging and it has so maybe next week, I'm gonna have to device a plan to conceal the cords.
Here's a quick lowdown on how we converted this thing into a lamp. I don't have photos to show you but it was really easy [given that we have every tool known to mankind and a lot of scrap wood from the construction of my desk]. First, John put the drum back together, we had to go to Guitar Center to get lug screws, etc. Second, he put a piece of either 1x2 or 1x4 [we experimented] across the drum to hold the light kit and bulb in place, then we dug into my gardening supplies and found the [hanging basket] chains that we used to hang the light up. A word of caution though, if you are using a real drum like we did, make sure that your mounting hardware can hold the weight of it and make sure you screw your hook into a stud on the ceiling. Then he drilled an inch or an inch and a half hole into the 1x2 or 1x4 to accommodate the light kit. String the cord onto the chain. Put a bulb in. I used a flood light for ours because it is brighter and gives out a spotlight-ish effect, it just adds a little bit of interest into what used to be an empty corner in his room. :)
Here's a quick lowdown on how we converted this thing into a lamp. I don't have photos to show you but it was really easy [given that we have every tool known to mankind and a lot of scrap wood from the construction of my desk]. First, John put the drum back together, we had to go to Guitar Center to get lug screws, etc. Second, he put a piece of either 1x2 or 1x4 [we experimented] across the drum to hold the light kit and bulb in place, then we dug into my gardening supplies and found the [hanging basket] chains that we used to hang the light up. A word of caution though, if you are using a real drum like we did, make sure that your mounting hardware can hold the weight of it and make sure you screw your hook into a stud on the ceiling. Then he drilled an inch or an inch and a half hole into the 1x2 or 1x4 to accommodate the light kit. String the cord onto the chain. Put a bulb in. I used a flood light for ours because it is brighter and gives out a spotlight-ish effect, it just adds a little bit of interest into what used to be an empty corner in his room. :)
There's more to come. I still have a full wall behind the drum set that I need to dress up! :)
But before I go, here's a couple of photos of our hallway. I've been working on it for a couple of weeks.
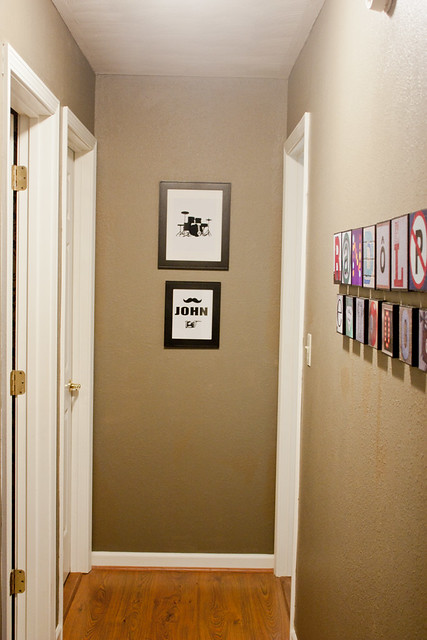
I'm crazy inlove with my husband, I could plaster his name all over the house! lol The stuff on the wall is the beginnings of a photo wall I'm trying to build. For all you know, it may be John's name in different languages! Haha!
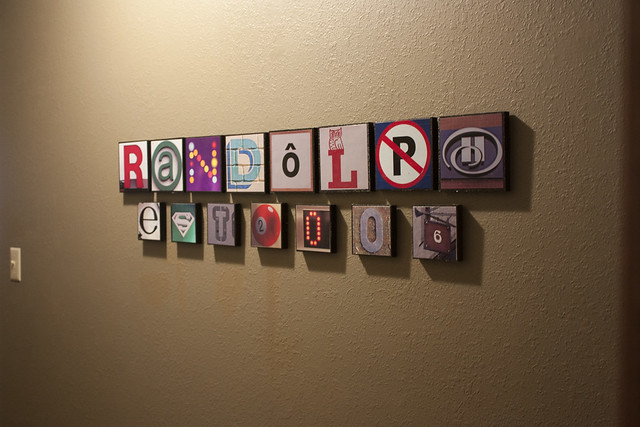
And this is just one of those crazy ideas I had. I got the photos from Flickr. This was fun to make. No walls were harmed in the making of this project. I used 3M Command strips to hang each piece so I didn't have to make holes in the wall.
So that's it for now. :) See you all next time!


No comments:
Post a Comment